
Tip & Trick
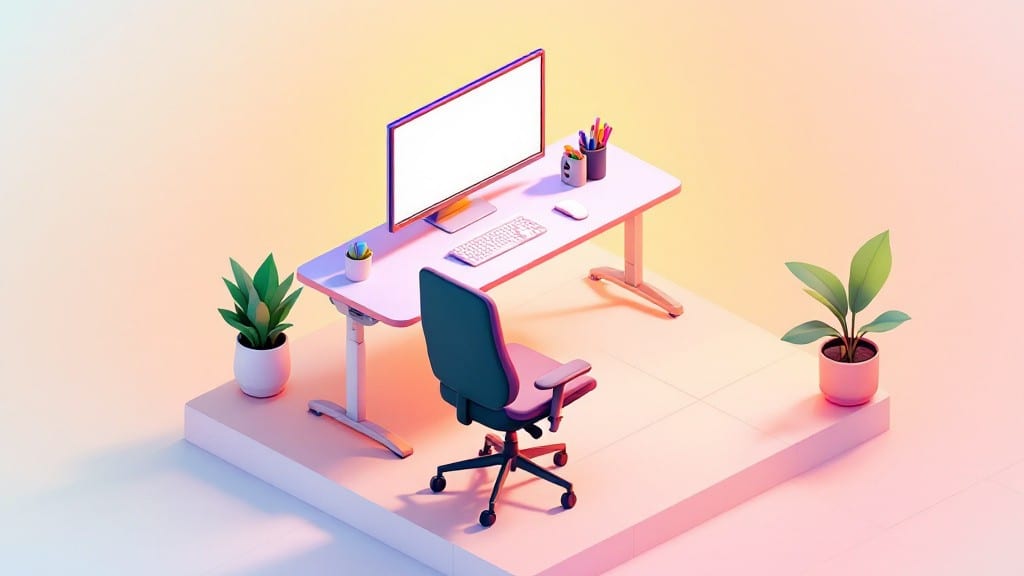
Setting up an ergonomic workstation isn’t just about comfort—it’s about transforming how your body interacts with technology. ✨ I spent years hunched over a desk before realizing my posture was costing me more than just aches; it was draining my energy and focus.
The right setup turns your workspace into a productivity powerhouse while keeping your shoulders relaxed and your wrists neutral.
Start with the basics: adjust your monitor so the top aligns with your eye level—no craning your neck forward. Your keyboard should sit just below elbow height, and your feet should rest flat on the floor (or a footrest if needed).
I use a $20 adjustable laptop stand from Micro Center Denver to elevate my screen, and it’s made all the difference in reducing neck strain. Don’t forget about your peripherals—wrist rests and an ergonomic mouse can prevent repetitive stress injuries that tech professionals often overlook.
Software tweaks matter just as much: bump your display resolution to 1920x1080 or higher if your monitor supports it, and enable dark mode to cut glare. Apps like f.lux automatically adjust screen temperature to reduce eye strain, while Text Blink can highlight text for those with visual fatigue.
These small changes add up—my own setup cut my screen-time headaches by 60% within a week.
Pro tip: cable management isn’t just about aesthetics—it’s about reducing tripping hazards and keeping your workspace clutter-free. Use zip ties or Velcro straps to bundle cords, and consider a USB hub with built-in cable organizers if you’re working with multiple devices.
The goal is to create a space that feels as seamless as it does supportive, so you can focus on the tech—not the discomfort.
📚 In This Guide
- What you need
- Instructions
- Tips and common mistakes
- Wrapping up and next steps
What you need
- ● Adjustable chair: With lumbar support, armrests, and height adjustment (e.g., Herman Miller Aeron or Steelcase Gesture).
- ● Desk: At least 29" (73.7 cm) wide and 30" (76.2 cm) deep. Adjustable height (sit-stand) is ideal.
- ● Monitor: 19"-24" screen size, with adjustable height (or a monitor arm). Resolution: 1080p or higher.
- ● Keyboard & mouse: Ergonomic or split keyboards (e.g., Microsoft Sculpt) and a vertical or trackball mouse.
- ● Monitor stand or riser: To align the screen at eye level (10"-20" from eyes, top of screen).
- ● Footrest: Adjustable or a sturdy box/ottoman (12"-18" height).
- ● Anti-fatigue mat: For standing desks (1/8"-1/4" thick, e.g., GelPro).
- ○ Blue light glasses: (Optional but recommended for long screen time).
- ● Laptop users: A laptop stand (12"-18" height) + external keyboard/mouse.
- ● Document holder: Clip-on or stand-alone to keep papers at eye level.
- ● Wrist rests: Gel or foam for keyboard/mouse (use sparingly to avoid strain).
- ● Headset or speakerphone: Reduces neck strain from holding phones.
- ● Task lighting: Adjustable LED desk lamp (5000K color temp for focus).
- ● Ergonomic mouse pad: Large, smooth surface (e.g., Anker or Logitech).
- ● Back support cushion: For extra lumbar comfort (e.g., Lumbar Roll).
Step-by-Step instructions for creating an ergonomic workstation
Here’s how I optimize my setup for comfort and productivity—no special tools required.
🔧 Step 1: Position Your Chair and Desk for Neutral Posture
Start by adjusting your chair height so your feet rest flat on the floor with knees at a 90-degree angle. If your chair is too low, use a footrest or stack of books to elevate your feet—this prevents pressure on the backs of your legs. I always check that my hips are slightly higher than my knees; this alignment reduces lower back strain.
Slide your desk forward until your elbows rest comfortably at your sides with a 90-degree bend in your arms. Your shoulders should relax without shrugging, and your wrists should hover slightly above the keyboard to avoid strain. If your desk is too high, consider a negative tilt keyboard tray or a wrist rest to maintain this neutral wrist position.
🖥️ Step 2: Align Your Monitor at Eye Level
Place the center of your monitor about 20-28 inches directly in front of your eyes. Use a stack of books, a riser, or a monitor arm to raise it until the top of the screen sits at or just below eye level. This prevents neck strain from looking down—a common cause of tension headaches. I like to test this by standing up: if you’re not squinting or tilting your head, you’re in the right range.
If you use dual monitors, position the primary screen directly ahead and the secondary slightly to the side. Avoid extreme angles—your eyes should glance effortlessly between them without twisting your neck. For glare, angle your monitor slightly away from windows or use an anti-glare screen if needed.
⌨️ Step 3: Optimize Keyboard and Mouse Placement
Keep your keyboard and mouse within easy reach so you don’t lean forward or stretch. A split keyboard or ergonomic keyboard can help reduce wrist twisting, but even a standard keyboard works if positioned correctly. Your forearms should stay parallel to the floor, with your wrists straight—not bent at the wrist. If you type frequently, consider a vertical mouse to keep your forearm in a natural position.
For extra comfort, add a cushioned wrist rest under your hands when not typing. I avoid resting my wrists on the rest while working, as this can encourage poor posture, but I use it during breaks to relieve pressure. If your desk is too deep, a negative tilt tray can bring the keyboard closer to your body, reducing shoulder strain.
💡 Step 4: Adjust Lighting and Reduce Distractions
Position your workspace near a window for natural light, but avoid direct glare on your screen. Use a warm-toned LED desk lamp (around 2700K-3000K) to reduce eye strain in low light. I like to angle the lamp so it illuminates my workspace without casting shadows on my monitor. If possible, adjust your chair or desk to face away from bright windows to minimize squinting.
Declutter your desk to create a clean, distraction-free zone. Keep frequently used items within arm’s reach to avoid unnecessary reaching or twisting. A small cable organizer or tray helps keep wires tidy, reducing visual clutter. If you work with documents, use a document holder positioned at the same distance as your monitor to avoid constant head turning.
⏰ Step 5: Test and Refine Your Setup
Spend 5-10 minutes working at your new setup. Pay attention to any discomfort—tingling in your wrists, tension in your shoulders, or strain in your neck. If you notice any of these, make small adjustments: raise or lower your chair, reposition your monitor, or add a cushion for support. I often find that even minor tweaks, like moving the mouse a few inches closer, make a big difference over time.
Set a reminder to take short breaks every 30-60 minutes to stand, stretch, and reset your posture. A 5-minute stretch—shoulder rolls, wrist flexes, and neck tilts—can prevent stiffness. Over time, your body will adapt to this ergonomic setup, reducing long-term discomfort and improving focus.
Tips & tricks for perfect ergonomic workstation setup
Small adjustments make all the difference when transforming your workspace into a pain-free productivity hub. Here's how I refine my setup to avoid the aches and strains that sneak up after just a few hours.
The Footrest Hack: In Step 1, if your feet still don't reach the floor after chair adjustments, don't settle for dangling legs. I keep a sturdy wooden footrest or even a thick book under my desk—I've tried the DIY approach with stacked shoeboxes too, and it works surprisingly well. The key is maintaining that 90-degree knee angle; even a slight bend can cause circulation issues over time. Between us, I've spent too many afternoons with numb feet to ignore this detail.
Monitor Height Test: For Step 2, here's what nobody tells you about the eye-level test: stand up and look at your monitor from where you normally sit. If you're squinting or tilting your head back, you need to raise it higher. I've found that most people undershoot the eye level mark by about 2-3 inches. Pro tip: use a small notebook or box as a temporary riser while you adjust—no need to buy anything special right away. The goal is to see the top third of your screen at eye level, not the middle.
Keyboard Positioning: When optimizing your keyboard in Step 3, think about your arm's natural resting position. Your elbows should stay glued to your sides with your shoulders relaxed—no hunching forward like you're trying to hide from the boss. If you're using a standard keyboard, consider adding a small wedge under the front edge to tilt it slightly backward. This helps maintain that straight wrist position we're aiming for. I've ruined three keyboards trying to force my wrists into unnatural positions, so trust me on this.
Lighting Strategy: For Step 4, the 2700K-3000K warm-toned LED recommendation is spot-on, but here's the real secret: position your lamp so it illuminates your workspace without casting reflections on your monitor. I angle mine toward the wall behind my monitor, creating an indirect light source. This eliminates shadows on my screen while keeping my eyes from constantly adjusting to glare. And if you're working with documents, keep them at the same distance as your monitor—constant head turning is a silent posture killer.
Pro Tips for Set Up Ergonomic Workstation
- Small adjustments make all the difference when transforming your workspace into a pain-free productivity hub.
- The Footrest Hack: In Step 1, if your feet still don't reach the floor after chair adjustments, don't settle for dangling legs.
- Monitor Height Test: For Step 2, here's what nobody tells you about the eye-level test: stand up and look at your monitor from where you normally sit.
Frequently asked questions
Got questions about setting up your ergonomic workstation? You’re not alone! Here are answers to the most common concerns—so you can dive right in without the guesswork.
How long does it take to set up an ergonomic workstation?
Most setups take 10–15 minutes if you’ve prepped your materials. Adjusting chair height, monitor distance, and keyboard placement should feel intuitive once you follow the steps. Pro tip: Start with the basics (chair and screen), then fine-tune over a few days—your body will thank you!
Do I need to buy expensive ergonomic furniture?
Not necessarily! Many affordable alternatives work—like stacking books under your laptop stand or using a rolled-up towel for lumbar support. Prioritize adjustable items (e.g., a basic ergonomic chair or monitor riser) over costly upgrades. Check thrift stores or office supply sales for deals.
What if my desk is too low for a proper setup?
No problem! Use a stable box, stack of books, or adjustable laptop stand to raise your screen to eye level. If your chair can’t adjust high enough, consider a footrest or anti-fatigue mat to bridge the gap. Temporary fixes work—just avoid slouching!
How often should I adjust my ergonomic setup?
Check your setup every few months or when you notice discomfort (e.g., neck strain or wrist pain). Growth, weight changes, or new tasks (like standing desks) may require tweaks. Listen to your body—small adjustments prevent long-term issues.
What’s the easiest way to fix wrist pain from typing?
Start by raising your keyboard to elbow height and keeping your wrists straight (not bent). Use a wrist rest only for breaks—not while typing. Try the “tabletop test”: If your hands hover like you’re holding a tray, your setup is likely correct!
Wrapping up and next steps
Setting up an ergonomic workstation doesn’t have to be complicated—just a few thoughtful adjustments can transform your workspace into a pain-free powerhouse! 🌟 By prioritizing chair height, monitor placement, keyboard positioning, and movement breaks, you’ll protect your posture, boost productivity, and even reduce stress.
Remember, the best setup is one that feels right for you, so tweak as needed.
Ready to take the next step? Start small: Adjust one thing today—like raising your monitor or taking a stretch break—and build from there. Your future self will thank you!