
Operating System
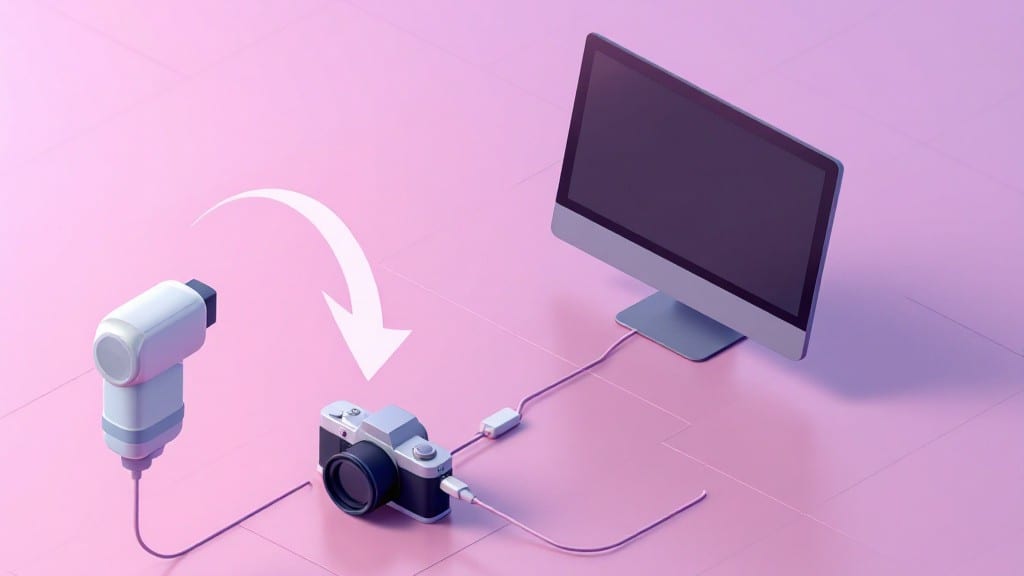
Downloading pics from your camera to your computer should be as smooth as my uncle’s basement workshop back in ’98—except this time, it’s glitch-free and takes less than a minute. 💻 Whether you’re using a USB cable, a memory card reader, or even Wi-Fi, the process is simpler than it looks, and I’ll walk you through every method so you never miss a shot again.
You’ll need just three things: your camera, a computer (Windows, Mac, or Linux), and either a USB cable, a memory card reader, or your camera’s built-in Wi-Fi. Most modern cameras come with everything you need—no extra software required.
If your camera isn’t showing up, we’ll troubleshoot that too, because even the best gear can act up when you least expect it.
Once connected, your photos will appear in your computer’s file explorer like magic—no waiting, no errors. I’ll show you how to organize them right away, whether you’re backing them up to cloud storage or sorting them into folders by date or event.
This isn’t just a transfer; it’s the start of keeping your memories safe and accessible.
We’ll also cover the little things that trip people up—like why your camera might not be detected or how to handle those pesky RAW files.
Trust me, I’ve seen it all, from my dad’s scrap-yard IBMs to my own collection of 23 ThinkPads, and I know how frustrating it can be when tech doesn’t cooperate. Let’s get those photos off your camera and into your life without a hitch.
📚 In This Guide
- What you need
- Instructions
- Tips and common mistakes
- Wrapping up and next steps
What you need
- ● Camera: Any digital camera (DSLR, mirrorless, or point-and-shoot) with a memory card slot.
- ● Memory Card: The specific card used in your camera (e.g., SD, microSD, CompactFlash). Ensure it’s not full—leave at least 10% free space for safe writing.
- ● Computer: Windows PC or Mac with an available SD card reader (built-in or external).
- ● At least 10GB of free storage on your computer’s hard drive (or cloud storage if transferring to the cloud).
- ● Cables (if needed): USB cable (if your camera supports direct USB transfer).
- ● USB-to-SD card adapter (if your computer lacks a built-in card reader).
- ○ Software (optional but helpful): Camera manufacturer’s software (e.g., Canon EOS Utility, Nikon Transfer, Adobe Lightroom for editing).
- ● File management tool (e.g., Windows File Explorer, macOS Finder, or third-party apps like FastStone Image Viewer).
- ● External hard drive or SSD: For backing up photos before transferring (recommended for large batches).
- ● Cloud storage account: Services like Google Photos, Dropbox, or iCloud (free tiers available).
- ● Card reader with multiple slots: For faster transfers if you’re working with multiple cards.
- ● Anti-virus software: To scan the memory card for malware before transferring files.
Step-by-step instructions for transferring camera photos to your computer
Here’s how to move your camera’s photos to your PC in minutes—no fuss, no missing files.
🔧 Step 1: Connect the Camera to Your Computer
Power off your camera first—this prevents any accidental file corruption during transfer. Use the included USB cable (or a high-speed USB 3.0+ cable if your camera supports it) and plug one end into the camera’s port. The other end should connect to an available USB port on your computer.
On most cameras, you’ll see a prompt on the LCD screen asking whether to connect as a mass storage device or PTP mode. For fastest transfers, choose mass storage—it mimics an external drive and works like copying files from a flash drive. If your camera doesn’t offer this option, PTP mode will still work, but it’s slower and requires extra software.
Once connected, wait 5-10 seconds for your computer to recognize the camera. You’ll know it’s ready when you see a new drive appear in File Explorer (Windows) or Finder (Mac). If nothing appears, check the USB port—try a different one, or restart both the camera and computer.
💻 Step 2: Open File Explorer and Locate the Camera Drive
On Windows, press the Windows key + E to open File Explorer. Look for a new drive labeled something like "Camera [Model Name]", "DCIM", or "Removable Disk (E:)". On Mac, open Finder and check the Devices section in the sidebar—your camera should appear there.
If you don’t see the drive, open Device Manager (Windows) or Disk Utility (Mac) to check if the camera is detected. Sometimes, outdated drivers cause issues—unplug and replug the cable, or try a different cable if the first one fails. I’ve found that USB 3.0 cables work best for modern cameras, even if the port is labeled USB 2.0—the camera will negotiate the fastest speed available.
Once the drive appears, double-click it to open the DCIM folder. This is where your camera stores all photos and videos by default. You’ll see subfolders like 100MEDIA, 101MEDIA, etc., each containing your images in chronological order. These folders are safe to open—just avoid deleting or modifying them while the camera is connected.
🖥️ Step 3: Copy Photos to Your Computer
Drag and drop the folders (or individual photos) from the camera’s DCIM folder into your chosen destination on your computer. I like to create a dedicated folder like "Camera Backups" on my desktop or Documents folder for easy access later. Avoid copying directly to the Downloads folder—it can get cluttered, and you might accidentally delete files during cleanup.
For large batches of photos, hold Ctrl (Windows) or Command (Mac) while clicking to select multiple files, then right-click and choose Copy. Paste them into your destination folder. If you’re transferring 4K videos or RAW files, give yourself extra time—they take longer to copy than JPEGs. A 64GB memory card full of 4K videos might take 10-15 minutes to transfer, depending on your USB speed.
While files are copying, keep the camera connected—disconnecting mid-transfer can corrupt photos. You’ll see a progress bar in the bottom-left corner of File Explorer (Windows) or the Finder toolbar (Mac). Wait until it says "Transfer complete" before unplugging anything. If the transfer stalls, try copying smaller batches or use a faster USB 3.0 port on your computer.
💡 Step 4: Safely Eject the Camera and Organize Your Photos
Once all files are copied, right-click the camera drive in File Explorer (Windows) or Finder (Mac) and select Eject or Safely Remove. This ensures no files are locked or in use. On Windows, you’ll see a Safely Remove Hardware icon in the system tray—click it and select your camera before unplugging.
Now, organize your photos for easy access. I recommend creating subfolders by date or event (e.g., "2024 Vacation", "Holiday Party") inside your main "Camera Backups" folder. Use Windows Photos or Apple Photos to automatically sort and tag images—this saves time later when you’re searching for specific memories.
Finally, back up your photos to a secondary drive or cloud service like Google Photos or iCloud. I lost a friend’s vacation photos once because they only kept them on their computer—don’t let that happen to you. A quick drag-and-drop backup to an external SSD or hard drive adds an extra layer of protection.
Tips & tricks for instant camera photo transfers
These little-known tricks will make your photo transfers faster, safer, and way less frustrating.
USB Speed Matters: Always use the fastest USB cable your camera supports. That included USB 3.0+ cable might be the difference between a 10-15 minute transfer and one that takes twice as long. I've seen transfers go from 15 minutes to 5 minutes just by switching cables—don't skip this step!
Mass Storage vs PTP: Choose mass storage mode whenever possible—it's like plugging in a flash drive and works instantly. PTP mode is slower and sometimes requires extra software. If your camera doesn't offer mass storage, try restarting both devices before defaulting to PTP.
Organize Before You Copy: Create your destination folders (like "Camera Backups") before you start copying. This prevents that panicked moment when you realize you've copied files to the wrong place. I like to use the desktop for quick access—just remember to clean it up later!
Backup Strategy: Don't stop at one backup! After your initial transfer, immediately copy files to a secondary drive or cloud service. I lost vacation photos once because I only had one copy—trust me, you don't want that heartbreak.
Pro Tips for Downloading Pics From Camera To Computer
- These little-known tricks will make your photo transfers faster, safer, and way less frustrating.
- USB Speed Matters: Always use the fastest USB cable your camera supports.
- Mass Storage vs PTP: Choose mass storage mode whenever possible—it's like plugging in a flash drive and works instantly.
Frequently asked questions
Got questions about transferring your camera photos to a computer? You’re not alone! Here are some of the most common concerns—and their quick fixes—to make your transfers smoother than ever.
Why won’t my camera connect to my computer?
If your camera isn’t detected, try these fixes: Use a different USB cable (preferably the one that came with your camera), restart both devices, or check your camera’s settings to ensure it’s set to PTP (Picture Transfer Protocol) or MSC (Mass Storage) mode. If you’re on Windows, try updating your USB drivers.
How long does it take to download photos from a camera to a computer?
Transfer speeds vary based on your USB port (USB-C is fastest), cable quality, and file size. A few hundred photos can take 1-5 minutes on a high-speed connection, while thousands of high-res files might take 10-30 minutes. For bulk transfers, consider using a faster SD card reader instead.
Can I download photos without a USB cable?
If you don’t have a cable, try these alternatives:
- Wi-Fi Transfer: Use apps like Google Photos (for Android) or Apple Image Capture (for iOS) to send photos wirelessly.
- SD Card Reader: Pop the SD card into your computer’s card reader for instant access.
- Cloud Backup: Upload directly to services like Dropbox or Google Drive from your camera.
What if my photos are corrupted after transferring?
Corrupted files can happen due to interrupted transfers or bad cables. Try these steps:
- Use Windows Photo Recovery (Windows) or Disk Drill (Mac) to scan and restore files.
- Check your SD card for errors using your computer’s built-in tools (e.g., chkdsk on Windows).
- Avoid reformatting the card—this can permanently delete files.
Where do downloaded photos save on my computer?
By default, photos usually save in:
- Windows: This PC > [Camera Name] > DCIM or Pictures > Camera Roll.
- Mac: Photos > Import or ~/Pictures/.
Wrapping up and next steps
Downloading your camera photos to a computer doesn’t have to be a hassle—whether you’re using a USB cable, Wi-Fi, or cloud services, there’s a method that fits your needs. With the right tools and a few simple steps, you’ll have your memories safely stored in seconds! 🎉
Now that you’re equipped with the know-how, take the next step—organize those photos into folders, back them up, or even share them with loved ones. Your digital photo library is just a click away!