
Tip & Trick
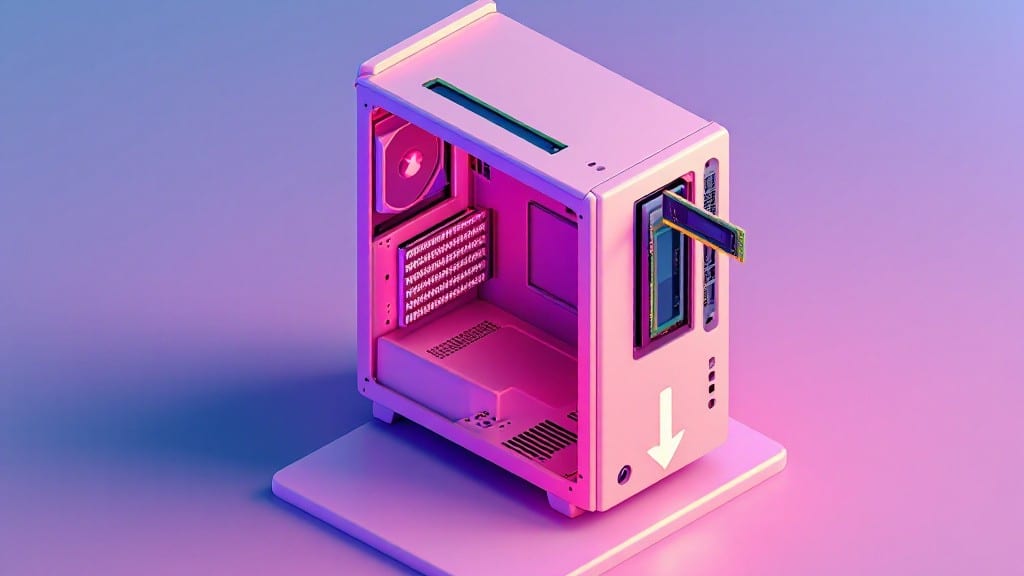
Installing RAM in your desktop PC is easier than you think—my uncle’s basement workshop taught me that back in 1998 when I replaced my first hard drive. ✨ The key is patience and a few simple precautions, like grounding yourself to avoid static electricity.
Most modern PCs use DDR4 or DDR5 sticks, and the process is nearly identical once you pop open the case.
You’ll need just two things: the RAM itself (check your motherboard’s manual for compatibility) and a Phillips-head screwdriver. No special tools beyond that—my dad always said, "If it’s not in the toolkit, you don’t need it."
The real work happens in under five minutes, but double-checking your motherboard’s manual beforehand saves headaches later.
Once you’ve seated the RAM properly (those notches align for a reason), your system should recognize it immediately. If it doesn’t, a quick BIOS check or reseating the stick usually fixes it.
I’ve helped dozens of folks upgrade their memory this way, and the most common mistake? Forgetting to push the clips down fully—no pressure, just a firm click.
This upgrade will give your PC a noticeable speed boost, especially for multitasking or gaming. The best part? You’ll know exactly what’s under the hood, just like I did back in Pittsburgh with Dad’s scrap-yard IBMs. Ready to dive in?
📚 In This Guide
- What you need
- Instructions
- Tips and common mistakes
- Wrapping up and next steps
What you need
- ● RAM Module(s): Check your motherboard’s manual for supported RAM type (DDR4, DDR5), capacity (e.g., 8GB, 16GB), and speed (e.g., 3200MHz, 3600MHz). Buy a kit with matching specs!
- ○ Anti-static wrist strap (optional but recommended): Protects your PC from static electricity damage. If you don’t have one, touch a metal part of your case or ground yourself on a carpeted floor.
- ● Phillips-head screwdriver: For removing the CPU cooler (if present) or case panels.
- ● Compressed air or soft brush: Cleans dust from RAM slots and case.
- ● Thermal paste (if reapplying CPU cooler): Only needed if you’re removing/reinstalling the cooler.
- ○ Magnifying glass (optional): Helps spot tiny notches in RAM slots.
- ● Notepad & pen: Jot down your current RAM configuration for reference.
- ● Power off your PC and unplug the power cable for safety.
- ● Work on a clean, flat surface (like a desk) to avoid dropping small screws.
- ● Read your motherboard manual for slot layout and RAM compatibility.
Step-by-Step instructions for installing RAM in a desktop PC
Here's how I handle RAM upgrades—simple, safe, and stress-free for any build.
🔧 Step 1: Power Down and Prepare Your Workspace
First, shut down your PC completely and unplug the power cable. I always hold the power button for 5-10 seconds afterward to discharge any residual energy in the motherboard. This tiny step prevents static shocks from damaging sensitive components.
Find a clean, flat surface to work on—preferably one with an anti-static mat or even a cardboard box lined with paper towels. Remove the screws securing the side panel of your case, then slide it off carefully. Set the panel aside where it won't get lost.
🖥️ Step 2: Locate and Release the RAM Slots
Open your case and locate the RAM slots on the motherboard—these are the long, narrow sockets with a clip on either end. You'll see two to four slots depending on your motherboard, and they're usually labeled A1/B1, A2/B2, etc. Each slot has a small notch that matches the notch on your RAM sticks.
To release a slot, press firmly on both clips at the same time until they pop open. You'll hear a distinct click when they're fully released—this confirms the slot is ready. If the clips don't open easily, don't force them. Check for any obstructions or dust buildup that might be blocking the mechanism.
⌨️ Step 3: Align and Insert the RAM Modules
Take your RAM module and align the notch on the bottom edge with the notch in the slot. The module should only fit one way—if it doesn't slide in smoothly, you've got it oriented wrong. Gently press down until you feel resistance, then apply firm, even pressure until you hear a click as the clips snap into place.
For dual-channel setups, install matching modules in the A2/B2 slots (or whichever pair your motherboard specifies). If you're adding RAM to an existing pair, match the capacity and speed exactly. For example, if you already have 16GB DDR4-3200 in slots A1/B1, add the new 16GB DDR4-3200 to A2/B2.
💡 Step 4: Secure and Reassemble the Case
Once the RAM is seated, double-check that both clips on each end are fully closed. Try gently wiggling the module—if it moves at all, the clips haven't latched properly. Press them down again until they snap securely. This ensures a solid connection and prevents boot failures.
Reinstall the side panel of your case, securing it with the screws you removed earlier. Plug the power cable back in, then press the power button to boot. If the system recognizes the new RAM, you'll see the updated capacity in your BIOS or OS—usually 32GB or whatever total you've installed.
⏰ Step 5: Verify Installation and Update BIOS if Needed
After booting, open Task Manager (press Ctrl+Shift+Esc) and check the Performance tab. Under Memory, you should see the correct total capacity listed. If the system doesn't recognize the full amount, restart and enter the BIOS (usually by pressing Del or F2 during boot) to ensure the RAM is detected.
If your motherboard requires a BIOS update for the new RAM, download the latest version from the manufacturer's website and flash it before proceeding. This step is critical if you're using high-capacity or high-speed modules that your current BIOS might not support.
Tips & tricks for stress-free RAM installation
These simple but critical tips will help you avoid common mistakes and make your RAM upgrade feel like a breeze—no tech degree required.
The Static Shock Secret: I can't emphasize this enough—static electricity is the silent killer of RAM installations. Beyond just unplugging your PC, I always touch the metal part of the case before handling components. This grounds me and prevents any accidental zaps.
Slot Release Technique: In Step 2, when you're releasing those RAM slot clips, don't use excessive force. If they're not opening easily, check for dust buildup or bent clips. I've seen people accidentally bend the slot mechanism by forcing it—this can make future installations impossible. A quick inspection with a flashlight often reveals the issue.
Dual-Channel Pairing: For that perfect dual-channel performance in Step 3, remember the golden rule: matching pairs go in matching slots. If your motherboard manual says A2/B2, don't put them in A1/B1. I've seen people mix this up and wonder why their system isn't recognizing the full capacity. Always check your motherboard documentation for the exact slot pairing.
BIOS Update Strategy: Before you even think about installing new RAM, check if your motherboard needs a BIOS update. I recommend doing this first—it's like giving your motherboard a software patch before installing new hardware. Visit your motherboard manufacturer's website and download the latest version before you begin. This prevents compatibility issues that could make your new RAM unusable.
Pro Tips for Install Ram In A Desktop Pc
- These simple but critical tips will help you avoid common mistakes and make your RAM upgrade feel like a breeze—no tech degree required.
- The Static Shock Secret: I can't emphasize this enough—static electricity is the silent killer of RAM installations.
- Slot Release Technique: In Step 2, when you're releasing those RAM slot clips, don't use excessive force.
Frequently asked questions
Got questions about upgrading your RAM? You’re not alone! Here are answers to the most common concerns—so you can tackle this upgrade with confidence.
Do I need to turn off my PC to install RAM?
Always power down your PC and unplug the power cable before opening the case. Static electricity or accidental shorts can damage components—safety first! If your system has a power button that stays lit, double-check with a multimeter or wait 5 minutes to ensure capacitors are fully discharged.
Can I mix RAM kits with different speeds or brands?
Technically, yes, but it’s risky. Your PC will default to the slowest RAM speed in the kit, and mismatched timings can cause instability. For best performance, stick to identical kits (same brand, speed, and capacity). If mixing is unavoidable, test stability with MemTest86 after installation.
How do I know if my RAM slots are compatible?
Check your motherboard manual for slot pairing rules—most modern boards use a dual-channel setup (e.g., slots 1+3 or 2+4). Fill slots in pairs for optimal performance. If unsure, your BIOS/UEFI will often indicate which slots are active. Pro tip: Use the A1/B1 slots first (usually the top pair) for best results!
What if my PC won’t boot after installing RAM?
Don’t panic! Start by reseating the RAM—gently press down until the clips click. If that fails, try one stick at a time in Slot 1 to rule out defects. Check for bent pins or dust blocking contacts. If the issue persists, clear CMOS (remove the CMOS battery for 5 mins) or update your BIOS.
Is it worth upgrading to DDR5 if I already have DDR4?
Only if your motherboard supports DDR5 and your budget allows. DDR5 offers theoretical speed improvements (up to 8000+ MT/s), but real-world gains depend on your CPU and workload. For most gamers/creators, DDR4 upgrades (3200MHz+) still deliver better value. Check your motherboard specs before jumping!
Do I need thermal paste for RAM installation?
Nope! RAM modules are self-contained—no paste, no tools needed beyond your fingers (or anti-static gloves). Just handle them by the edges to avoid oils from your skin. If you’re extra cautious, use a grounded wrist strap or touch the case before handling components.
Wrapping up and next steps
You’ve made it! Installing RAM in your desktop PC is a straightforward process—once you know the steps. With patience and a little care, you’ve just boosted your system’s performance without breaking a sweat. Now that you’re RAM-savvy, why not take it further?
Next up: test your new setup by running a stress test (like MemTest86) or diving into your PC’s Task Manager to see those sweet, sweet speed upgrades in action. 🚀 Pro tip: Document your build for future reference—you’ll thank yourself later!